2024-08-21

Installing an operating system (OS) on your computer might seem like a daunting task, but with the right guidance, it can be a straightforward process. Whether you're setting up a new computer, upgrading your existing system, or simply starting fresh, this guide will walk you through the essential steps to install an OS.
Before you begin, decide which operating system is best suited for your needs. The most common options are:
Before installing a new OS, take the following steps to prepare your computer:
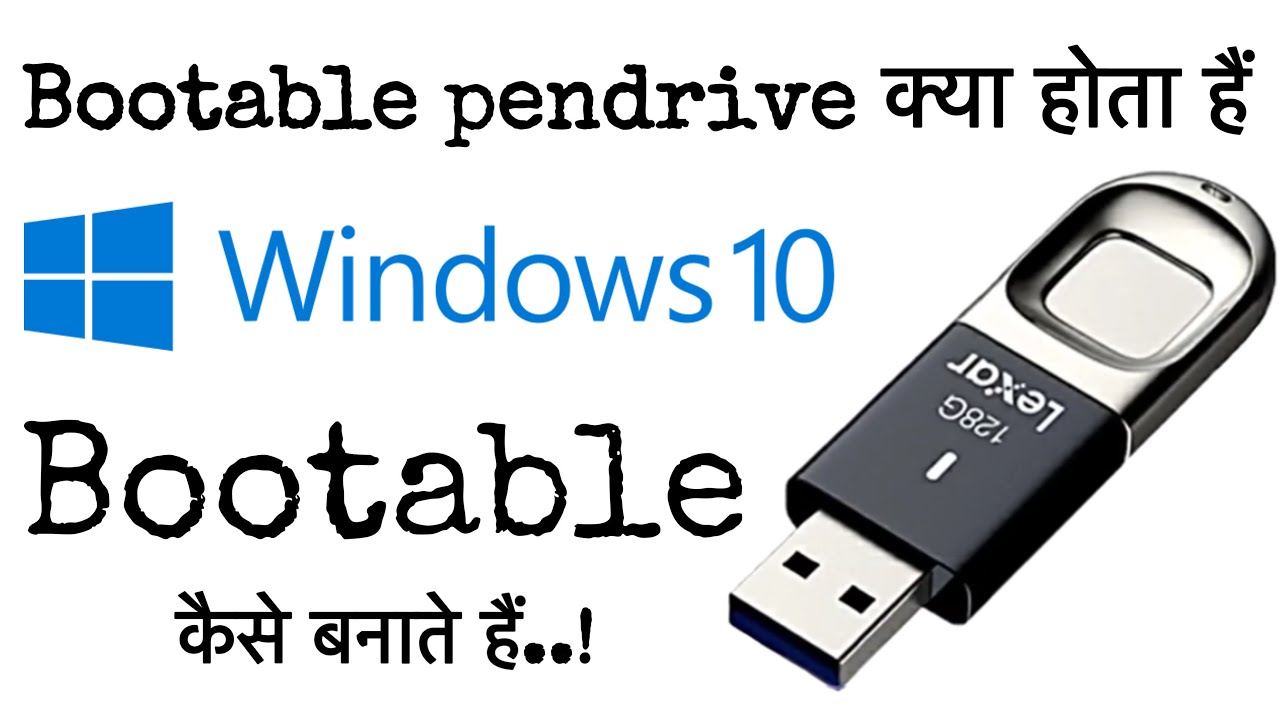
A bootable USB drive is necessary to install an OS, especially if you’re installing it on a new or completely wiped system.
Now that your bootable USB drive is ready, it’s time to install the OS:
Insert the USB Drive and Restart the Computer: Plug in the bootable USB drive and restart your computer. You may need to enter the BIOS/UEFI settings (usually by pressing F2, F10, DEL, or ESC during startup) to set the USB drive as the primary boot device.
Boot from the USB Drive: Your computer should boot from the USB drive, launching the OS installer. If it doesn't, revisit the BIOS/UEFI settings to ensure the USB drive is selected as the first boot option.
Follow the On-Screen Instructions: The installation process will guide you through setting up the OS. This typically involves selecting your language, time zone, and keyboard layout, and then choosing where to install the OS (usually your primary hard drive).
Partition the Drive (If Necessary): If you're installing the OS alongside another OS (dual-booting) or creating custom partitions, the installer will allow you to partition your hard drive. If you're unsure, you can usually select the default option to install the OS on the entire drive.
Complete the Installation: After configuring your settings, the installation process will begin. This may take some time, depending on your system and the OS. Once it's finished, your computer will restart.
After the OS is installed, you’ll need to complete a few additional steps:
If you encounter any issues during or after installation, here are some common troubleshooting steps:
Installing an operating system is a fundamental skill that can empower you to better manage and customize your computer. By following these steps, you can confidently install an OS, whether you're setting up a new system, upgrading your current one, or experimenting with different operating systems. Remember to back up your data, carefully follow the installation process, and keep your system updated to enjoy a smooth and secure computing experience.

2024-08-21
Installing Os
In the digital age, a bootable pendrive (USB drive) is an essential tool for anyone who regularly works with computers. Whether you're installing a new operating system, repairing a damaged one, or simply need a portable recovery tool, a bootable pendrive can be a lifesaver. This blog will guide you through what a bootable pendrive is, its uses, and how you can create one.

2024-08-21
Repair&Maintenance
Choosing the Right Laptop for Your Company: A Guide to Repair & Maintenance

2024-08-21
Installing Os
Congratulations! You've successfully installed your chosen operating system. Before diving into your new OS, take some time to perform any necessary post-installation setup tasks, such as creating user accounts, configuring network settings, installing drivers, and updating software.